
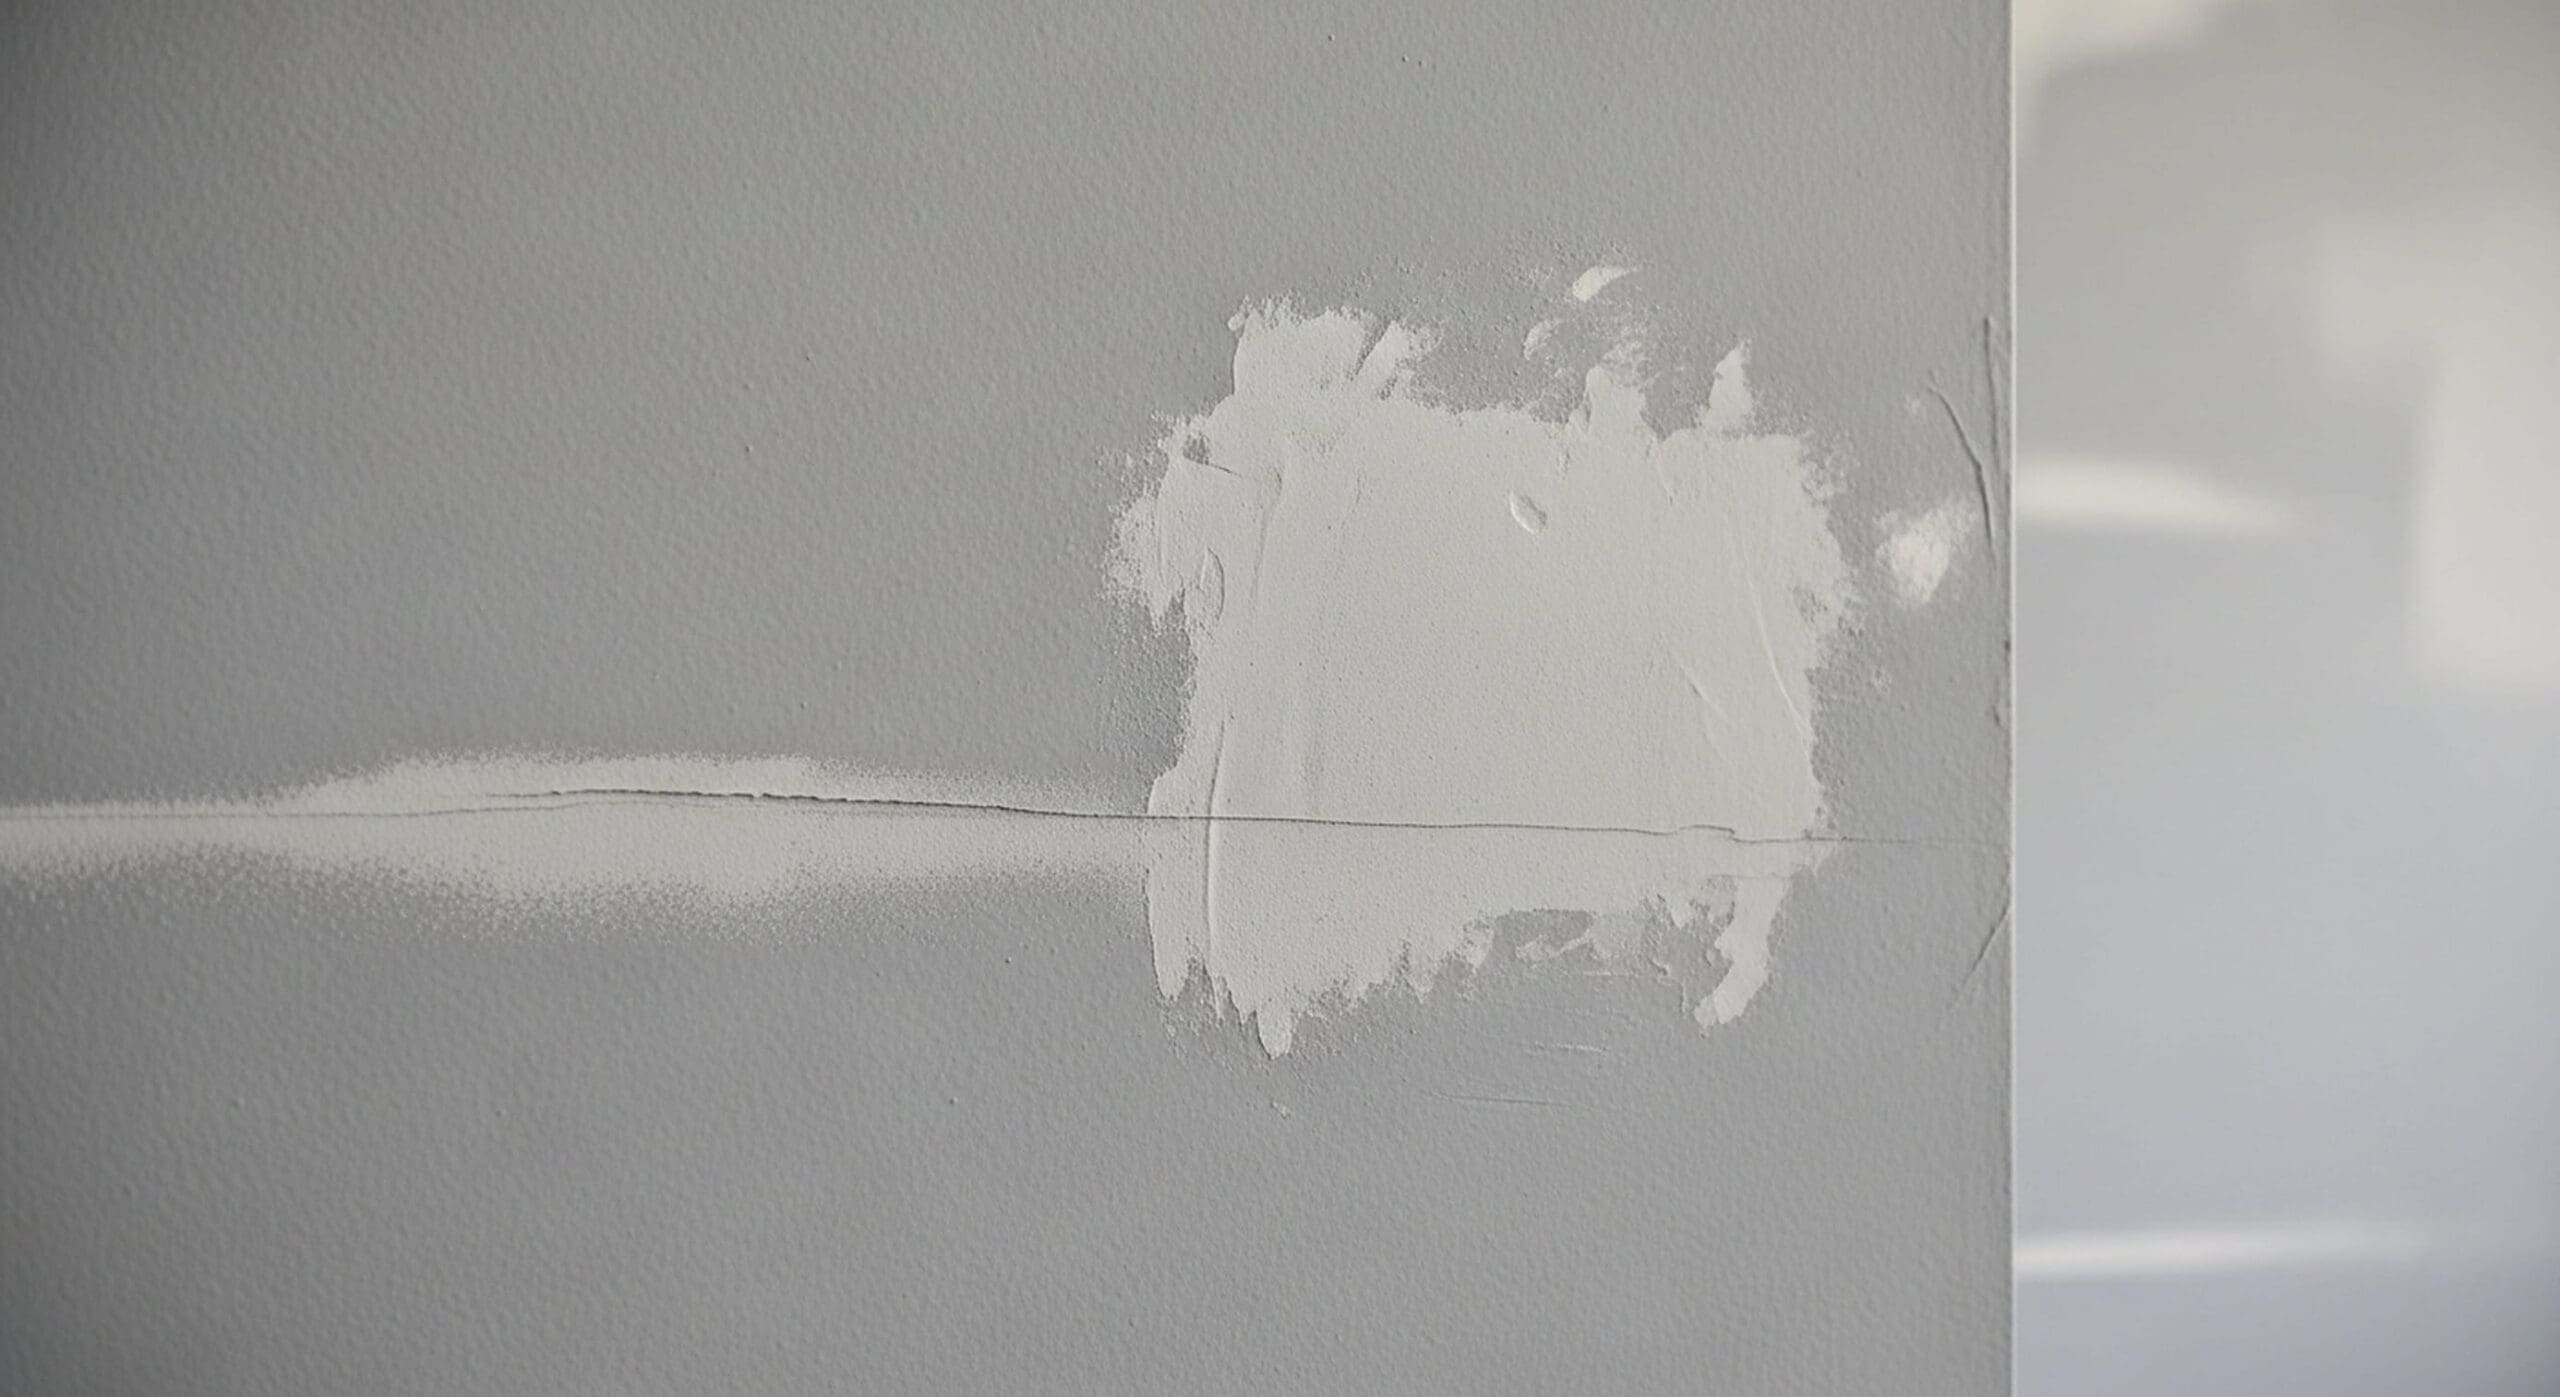
A drywall patch may look fine at first, only to stand out once the paint dries or begin cracking a few weeks later. Many common drywall repair mistakes happen during prep, mudding, sanding, and texture matching, where small errors can affect the final finish.
Drywall Doctor DFW regularly repairs DIY drywall mistakes for homeowners across Dallas-Fort Worth, including Dallas, Fort Worth, Plano, and surrounding areas. Here’s what to know about the mistakes we commonly see and how you can avoid them during your own repair.
Quick Answer: Common Drywall Repair Mistakes
- Using the wrong materials: The wrong patch or joint compound can lead to cracking or shrinkage.
- Rushing the process: Sanding or recoating too soon can cause bubbles and visible seams.
- Skipping texture matching: A mismatched texture can make even a solid repair stand out.
Why DIY Drywall Repairs Fail More Often Than They Should
Drywall repair looks straightforward, but each step affects the next. Even when you follow the right steps for patching drywall, poor prep, uneven joint compound, or rushed finishing leaves cracks, ridges, or a visible patch.
The Difference Between “Patched” and “Repaired”
Patching closes the hole, while repairing restores the wall so the damaged area blends with the surrounding surface. A patch may be solid, but poor finishing or texture matching still makes the repair easy to spot.
When a Small Mistake Becomes a Bigger Problem
Applying compound over an unstable patch can cause cracks, which can then lead to texture and finish problems. In some cases, fixing the original mistake means removing the patch and starting the repair again.
Mistakes Made at the Patching Stage
The most common drywall repair mistakes start before you even open the joint compound. Choosing the wrong patch or applying materials over damaged drywall can weaken the repair from the start.
Using the Wrong Patch Method for the Hole Size
You can fill small holes under 1/2 inch with spackle or lightweight compound. For holes up to about 6 inches, you may need a mesh patch and joint compound. Larger holes typically require new drywall and rigid backing to prevent movement and cracking.
Not Cutting Back to Clean, Solid Drywall
Remove crumbling, damaged, or water-stained drywall before you start. If you see signs of water damage, find and fix the moisture source before patching the area.
Skipping the Primer Before Compound
You can apply joint compound directly to fresh drywall, but you need to seal torn or damaged drywall paper first. After the compound dries and you finish sanding, apply primer so the repaired area accepts paint evenly.
Drywall Taping Mistakes That Ruin the Finish
Drywall taping mistakes can cause cracks, bubbles, and raised seams that remain visible after painting. Proper taping strengthens the repair and creates a smooth finish.
Skipping Tape on Larger Patches
Larger patches and drywall seams need reinforcement to prevent cracks from returning. Professionals often use paper tape for flat seams, while fiberglass mesh works well for certain small repairs and patching applications.
Applying Tape Without Enough Compound Underneath
Embed paper tape in a wet layer of joint compound. If you use too little compound, air pockets can form underneath and cause the tape to bubble, lift, or create a visible ridge.
Overworking the Tape Coat
Repeated passes or too much pressure can wrinkle or shift the tape after you embed it. Once you smooth and secure the tape, let the compound dry before you apply the next coat.
Drywall Finishing Mistakes to Avoid
Even a solid patch stands out if you rush the finishing work. These drywall finishing mistakes can leave raised areas, sanding marks, or uneven paint.
Not Feathering the Compound Wide Enough
Apply each coat of joint compound slightly wider than the last to blend the repair into the wall. Keeping every coat the same width creates a raised area that becomes more noticeable after painting.
Sanding Too Aggressively or Not Enough
Over-sanding cuts through the compound and damages the drywall paper, while under-sanding leaves ridges and tool marks. Use a low-angle work light while sanding to spot imperfections before you paint.
Painting Without Priming the Repaired Area
Joint compound absorbs paint differently than the surrounding wall, which makes the repaired area look dull or uneven. Apply drywall or PVA primer after the compound fully dries and you finish sanding, then apply the finish paint.
The Mistake Most DIYers Miss: Texture Matching
A patch can look smooth and solid but still stand out if the texture does not match the surrounding wall. For difficult or highly visible repairs, a professional texture matching service can recreate the existing finish more accurately.
Applying the Wrong Texture Type
DFW homes commonly feature orange peel, knockdown, and smooth finishes, and each requires a different application method. Using the wrong texture or technique can make the repaired area immediately noticeable.
Not Testing the Texture Before Applying It
Test the texture on scrap drywall before applying it to the wall. This gives you a chance to adjust the spray pattern, compound consistency, or knockdown timing before committing to the repair.
Forgetting to Blend the Texture at the Edges
New texture should gradually blend into the surrounding finish instead of stopping at a hard edge. Feathering the texture around the repair helps prevent a visible outline after painting.
Frequently Asked Questions About Drywall Repair
Can I repair drywall without using joint compound?
You can use lightweight spackle for small nail holes. Larger holes, cracks, and seams need joint compound for a durable repair.
How many coats of joint compound do I need?
Most repairs need two to three coats, depending on the damage and compound used. Let each coat dry or set as directed before applying the next.
Why does my drywall repair show through the paint?
Poor feathering, mismatched texture, or skipping primer can make a repair visible through paint. Proper finishing and priming help the patch blend with the surrounding wall.
How long should I wait between coats of joint compound?
Drying time depends on the compound, coat thickness, humidity, and airflow. Follow the product instructions and wait until the compound dries fully before sanding or recoating.
When should I call a professional instead of patching myself?
Consider a professional drywall repair service for large damage, recurring cracks, water damage, or difficult texture matching. A professional can also determine whether recurring damage points to a larger problem.
Why is my ceiling cracking?
Ceiling cracks can develop from normal settling, drywall movement, moisture, or structural issues. If cracks keep returning or you need help distinguishing between stress and structural issues, ceiling specialists can identify the cause and recommend the right repair.